
As discussed in my post “Jumping Journey” I wanted Jack, and all the horses at the barn really, to see some new jumps. We have poles and some different ways of setting them up, but we are by no means a “jumping stable”. I made three 8 foot long and 7 inch tall stackable “jumps” for about $5 each. I hate posts that claim a low price for some DIY project only to admit that they randomly received free stuff from their uncle’s friend’s sister. So I am not writing this to say these can be that price for anyone, it’s just what it cost me and maybe you can do something similar for a similar amount. So with that disclaimer behind us, let’s talk about these jumps.
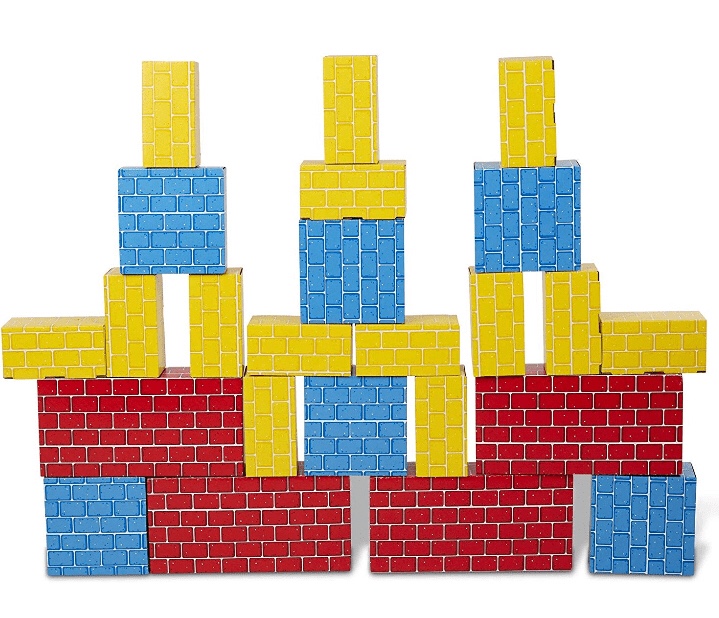
I was window shopping on a local internet classified site when I spotted some cardboard boxes that were colored to look like bricks. They were pretty big and they were $8 for three trashbags full. Turns out they were “Melissa and Doug” brand large cardboard blocks which the woman had posted under the “toys” section of the classifieds. Better yet, she lived a couple miles from my house.
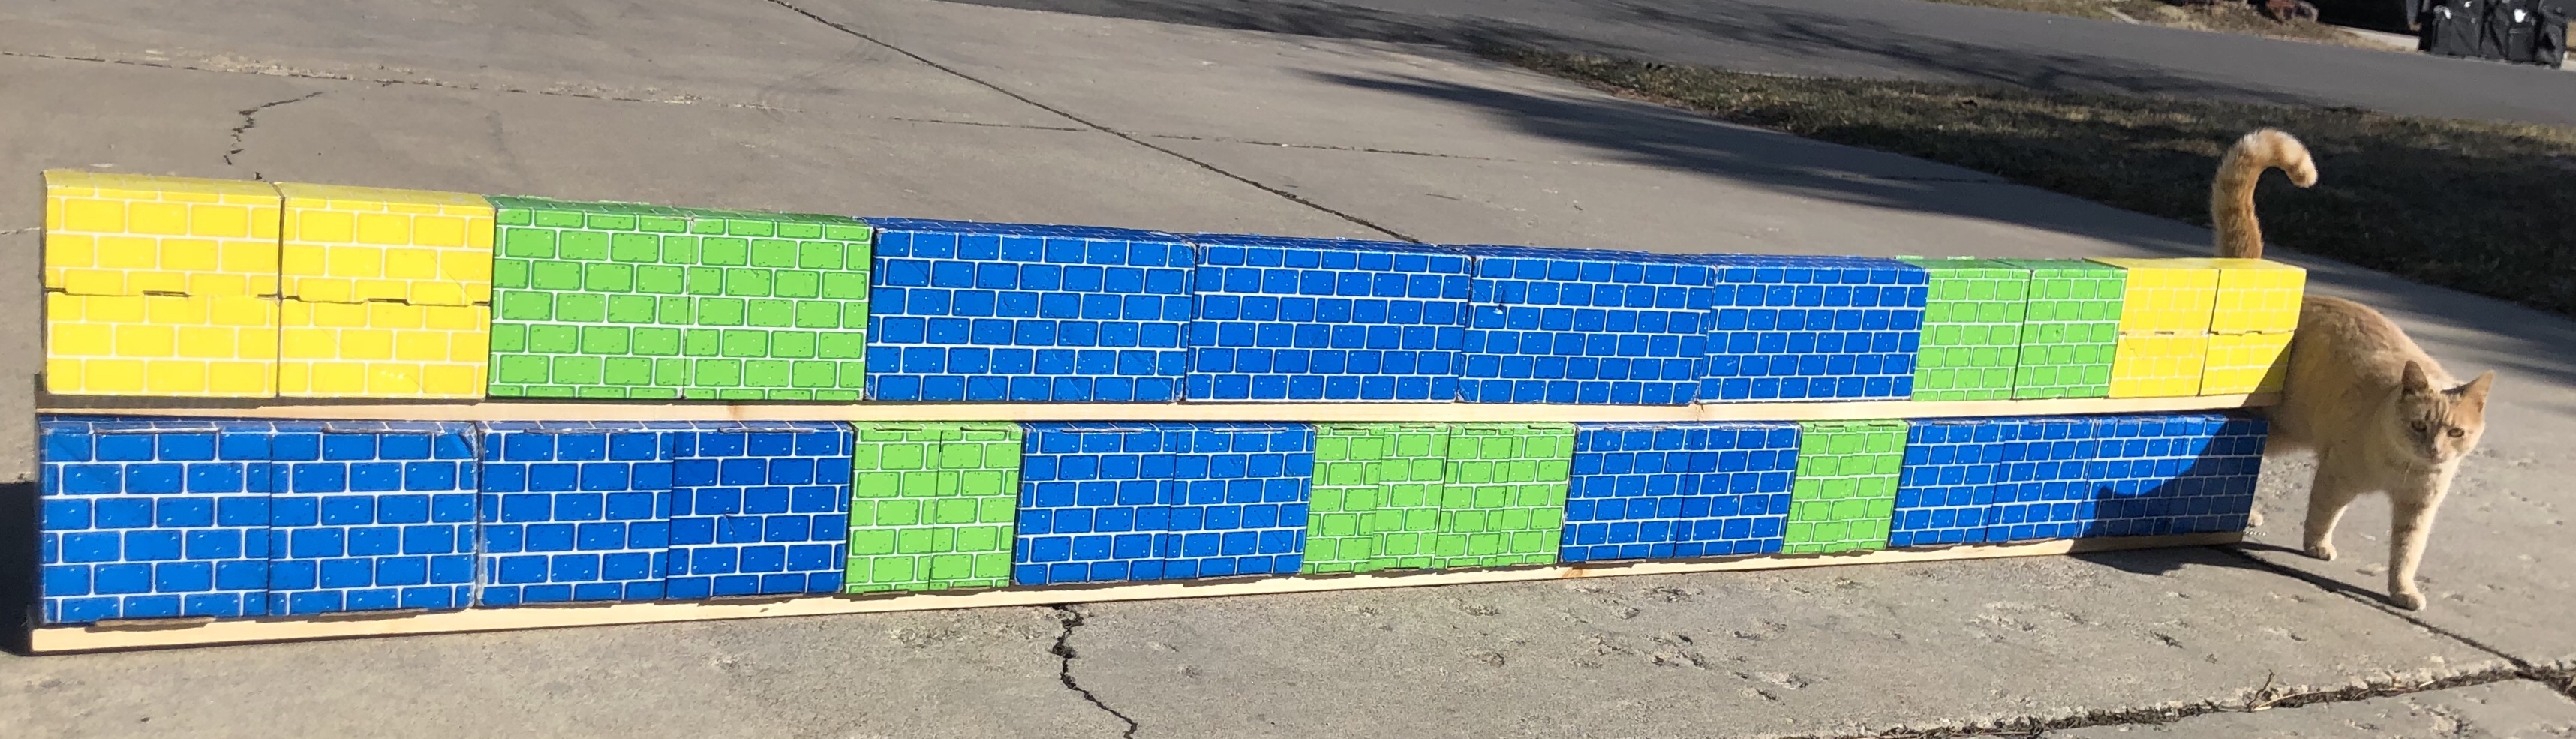
When I got them home I took them out of their plastic garbage bags and did some measuring. There were some that were 12” L x 6” H x 3” D, which was what I was expecting, but there were some other sizes too. All were 3” deep and 6” high, but some were 6” and some 3” long. I started to lay them out and see what I could get out of them. I decided on 8 feet long jumps because the majority of the poles at our barn are that long, and with that size I could make three jumps and have a few of the tiny 3” ones left over.
A friend mentioned I should consider waterproofing the boxes. An excellent point since there is moisture in the arena, either from dripping condensation or from the sprinklers to keep the dust down. I headed over to Pinterest for ideas, and there are a lot, some more expensive than others. I wanted to do these on the cheap because, while these boxes may be strong enough for a preschooler to stand on, if a horse steps on one, it’s going to crunch. I wandered through the aisles at Home Depot and came across a clear gloss spray paint. Now I don’t expect this to completely waterproof my boxes, but a little extra protection for $3.50 seemed like a fine deal.

The first jump I put together I did two coats of spray paint on every side of each box. This was a little tiresome, so, for the second one, I assembled the jump first and then spray painted it. After the two coats I also had some scotch guard in my garage left over, so I did one quick coat of that, couldn’t hurt right?
To assemble the jumps I used liquid nails (once again, mostly because I had some left over from a shiplap project). I used painters tape to hold them together while they dried, as well as rocks from my yard balanced on top. Lastly, I “liquid nailed” a 1”x3”x8’ pine board to the top of the boxes. This would give the boxes a base and could be helpful for moving them around and stacking them. I only put one strip of wood on each jump so that a hoof couldn’t get stuck between wood strips. The wood strips were $1.68 each.

So there you have it. The jumps are made and drying in my garage ready to be taken out for a test ride. These jumps are not fancy, but they should serve their purpose as something new and different to look at and think about and get over. I hope they aren’t crushed on the first go, but they were fairly easy and inexpensive if they are destroyed.
Have you done any DIY stuff for your horse or barn? I’d love to hear about it. Thanks for reading and sharing.

Very industrious and ingenious!
LikeLike
So I assume you will post the jumpers in action! Great diy.
LikeLike